;)


;)
;)
;)
;)
;)
| Home » Categories » Vision 365 | ||
How to create a class in the Microsoft Azure Portal |
||
|
Article Number: 530 | Last Updated: Mon, Nov 23, 2020 3:25 PM
|
||
Administrators can now add Azure as the classroom provider and Microsoft as the authentication provider for the Vision 365 applications by using a domain policy:
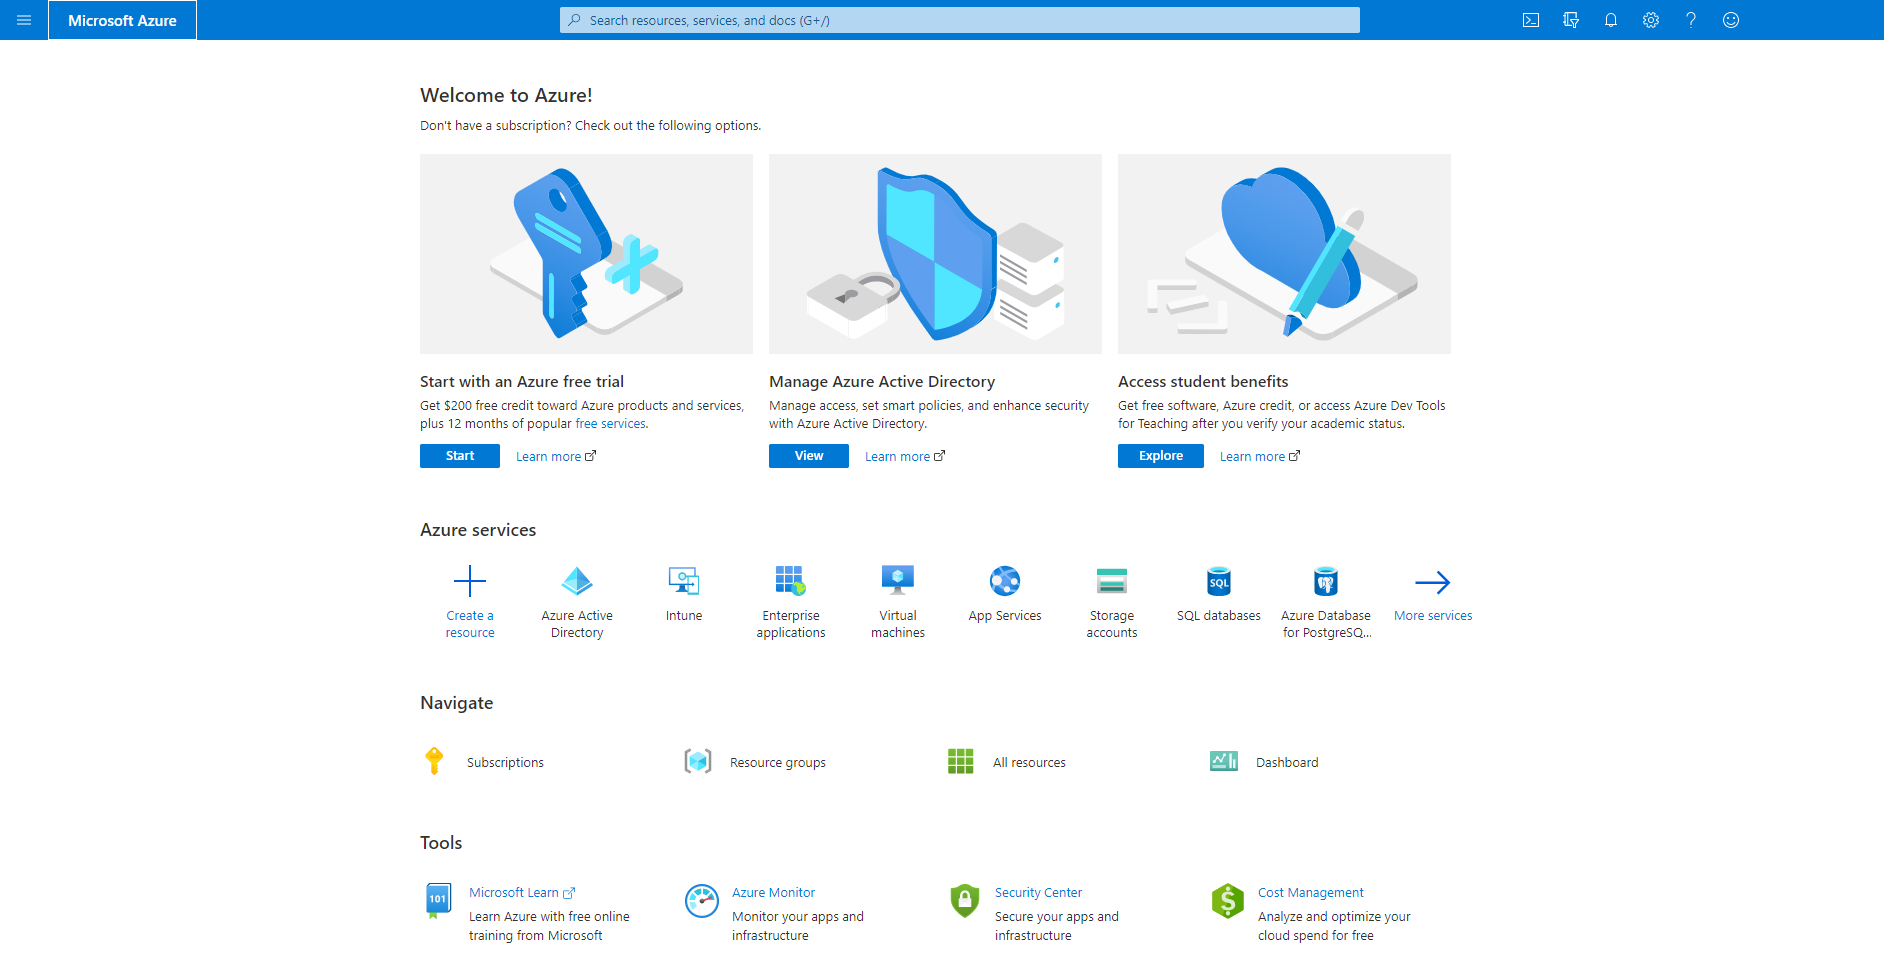
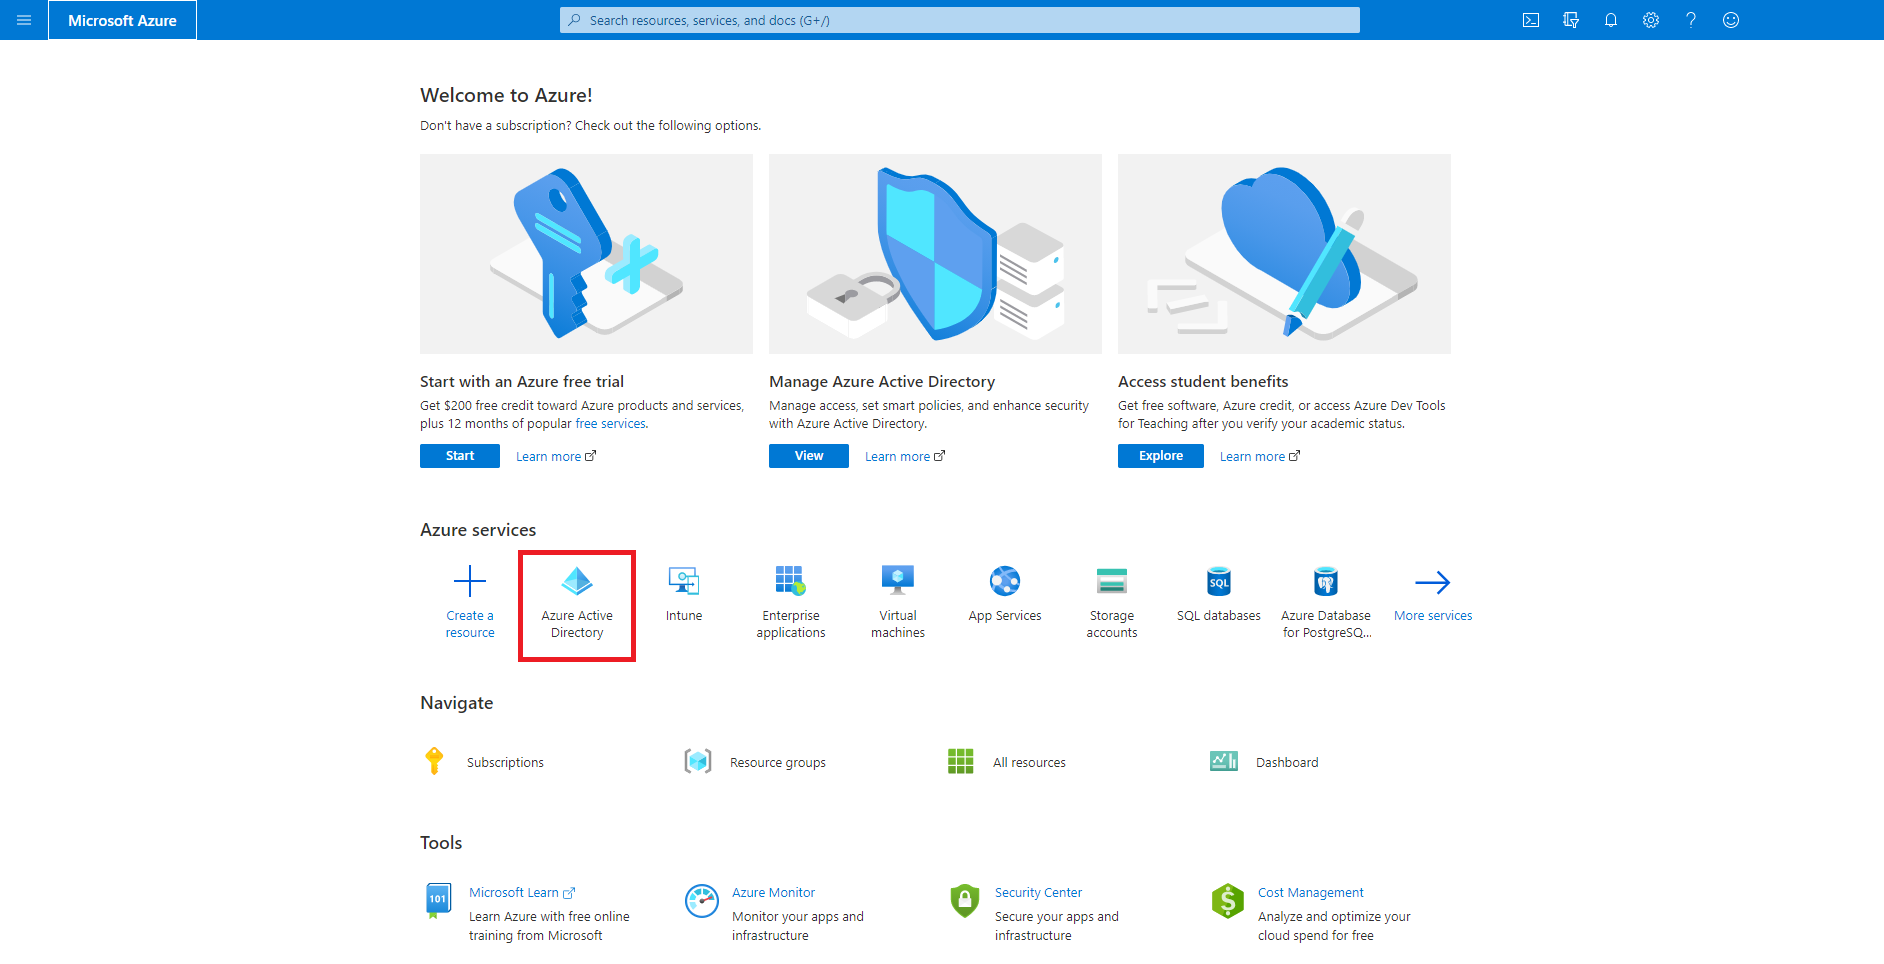
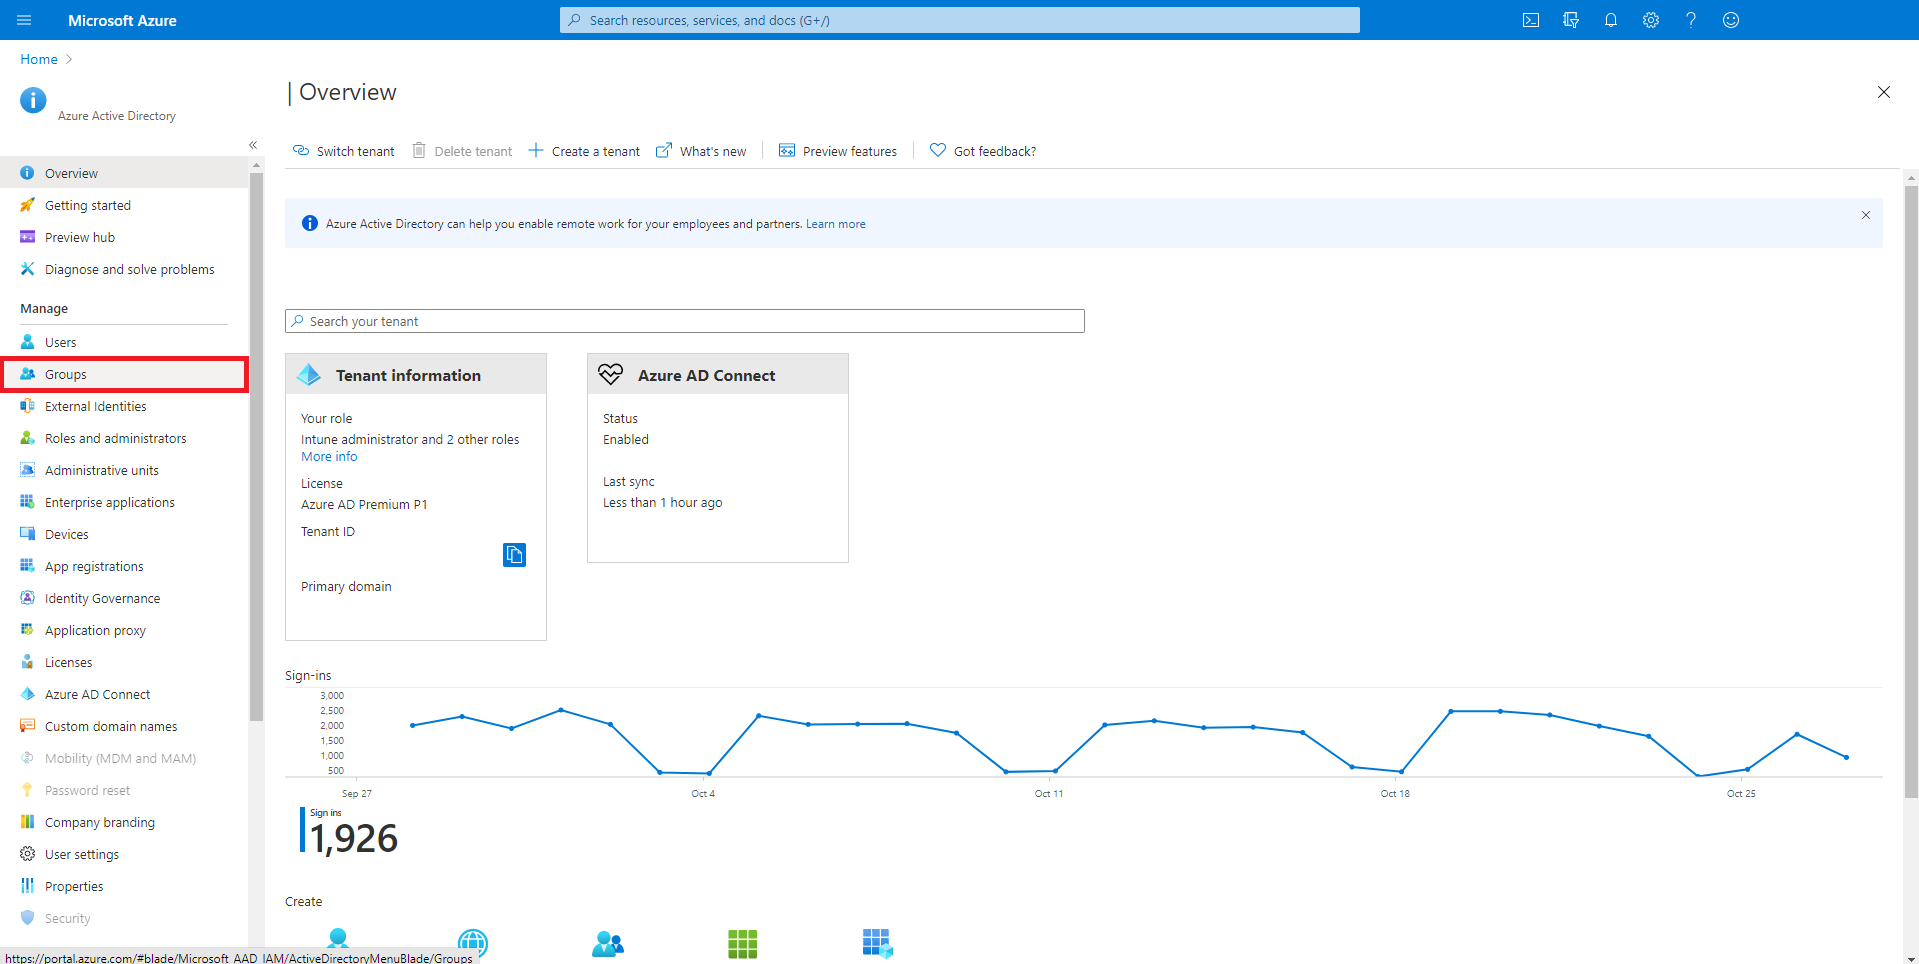
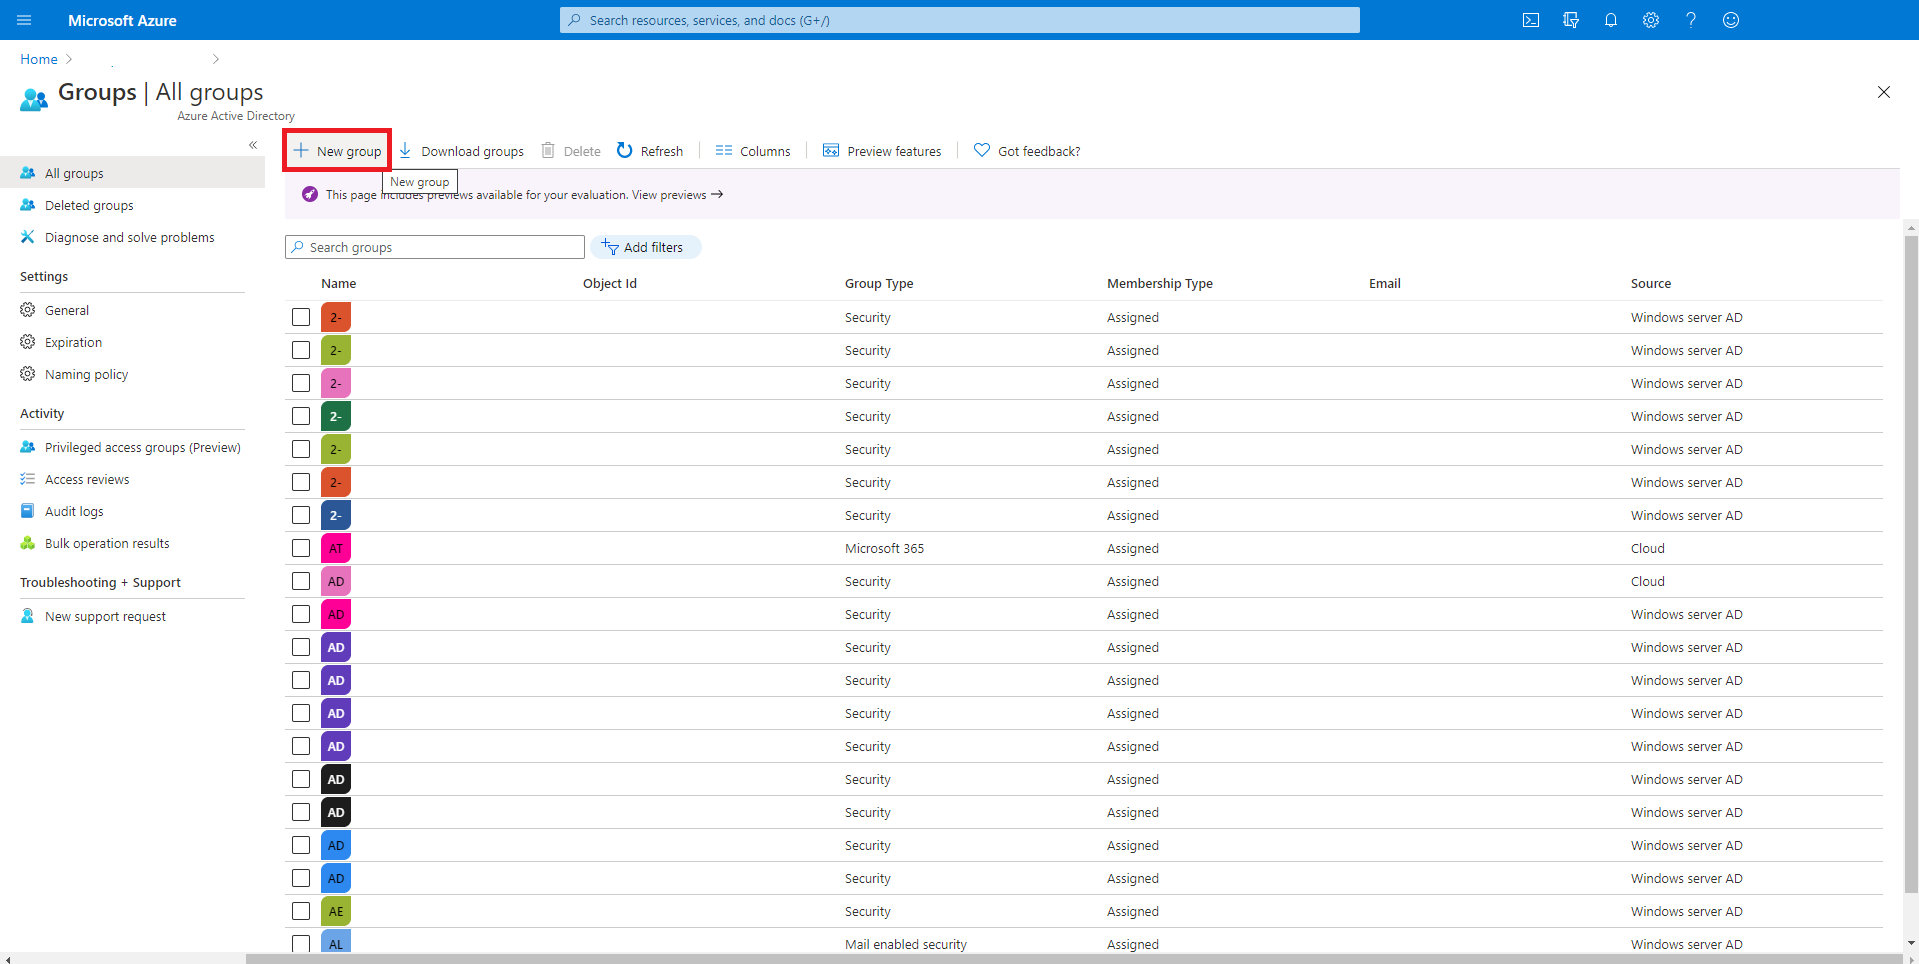
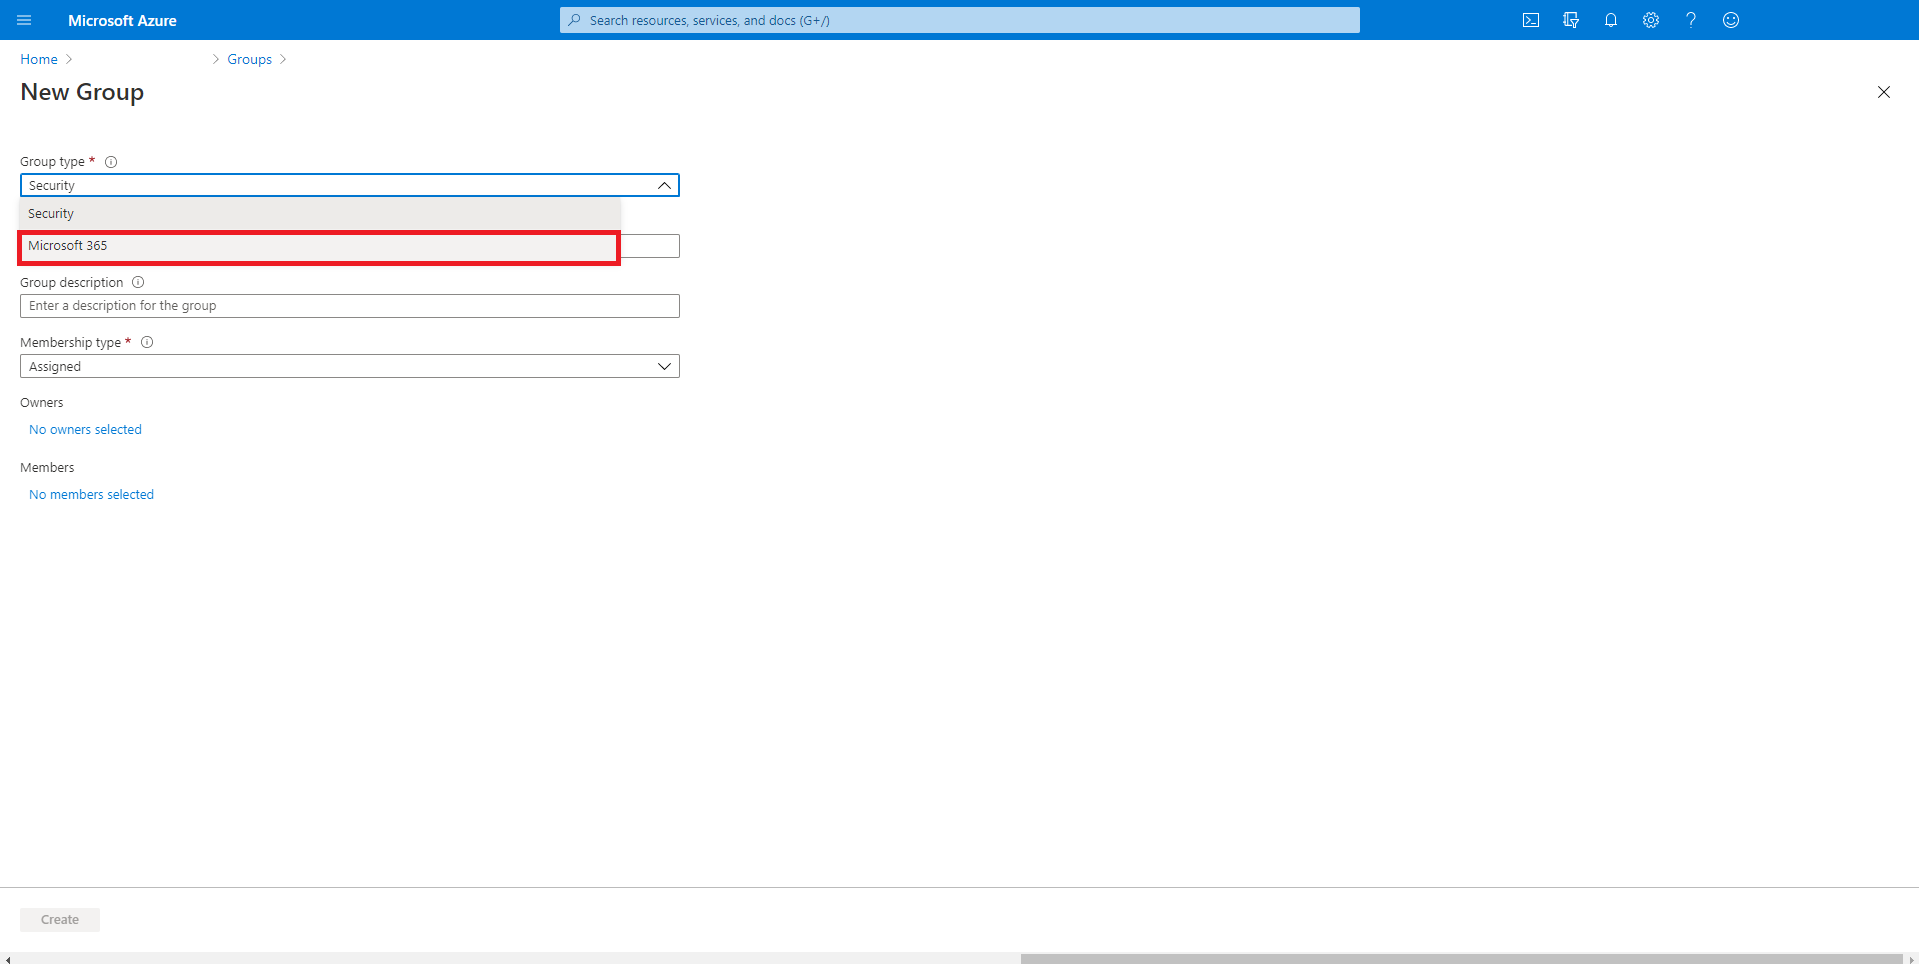
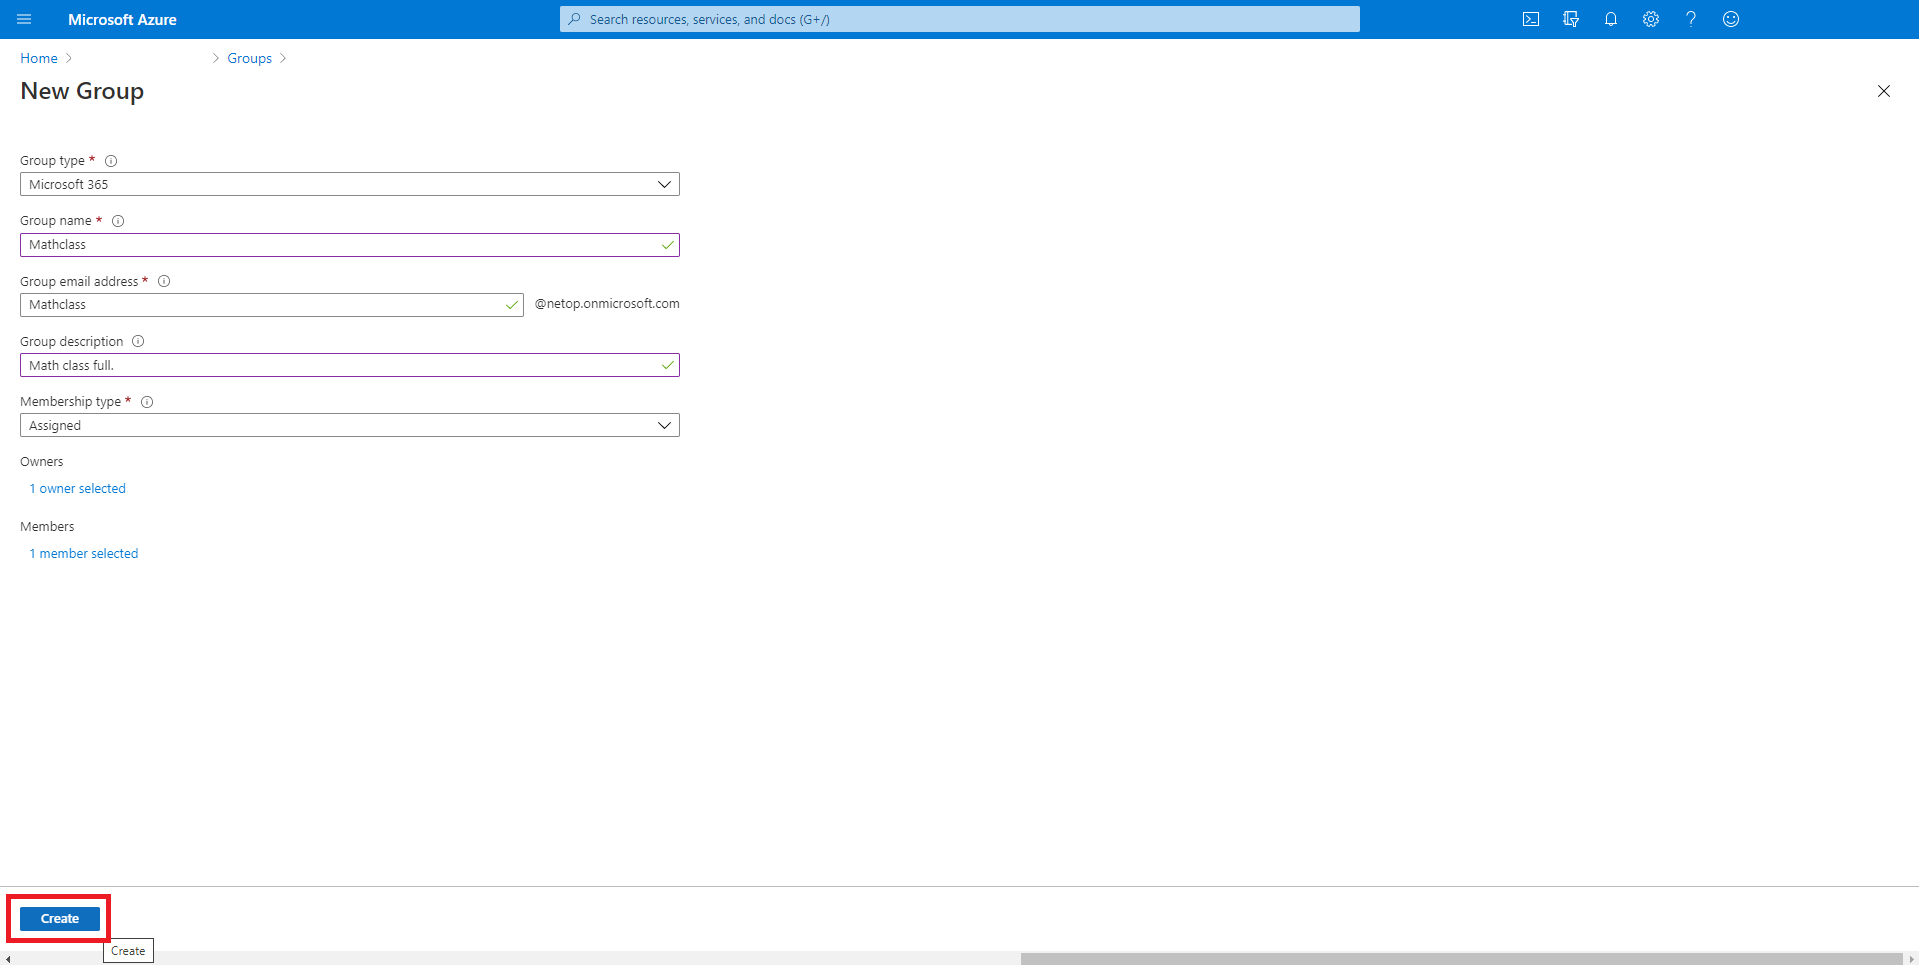
A class can be created in the Microsoft Azure Portal, as a group with the type "Microsoft 365", or in Microsoft Teams, since the classes created in Teams are also available in Azure as "Microsoft 365" groups. To create a class in the Azure portal, proceed as follows: 1. Log in the Azure portal.
2. Click on the Azure Active Directory icon.
3. Go to Groups.
4. Click on the New group button.
5. From the Group type dropdown field, select Microsoft 365.
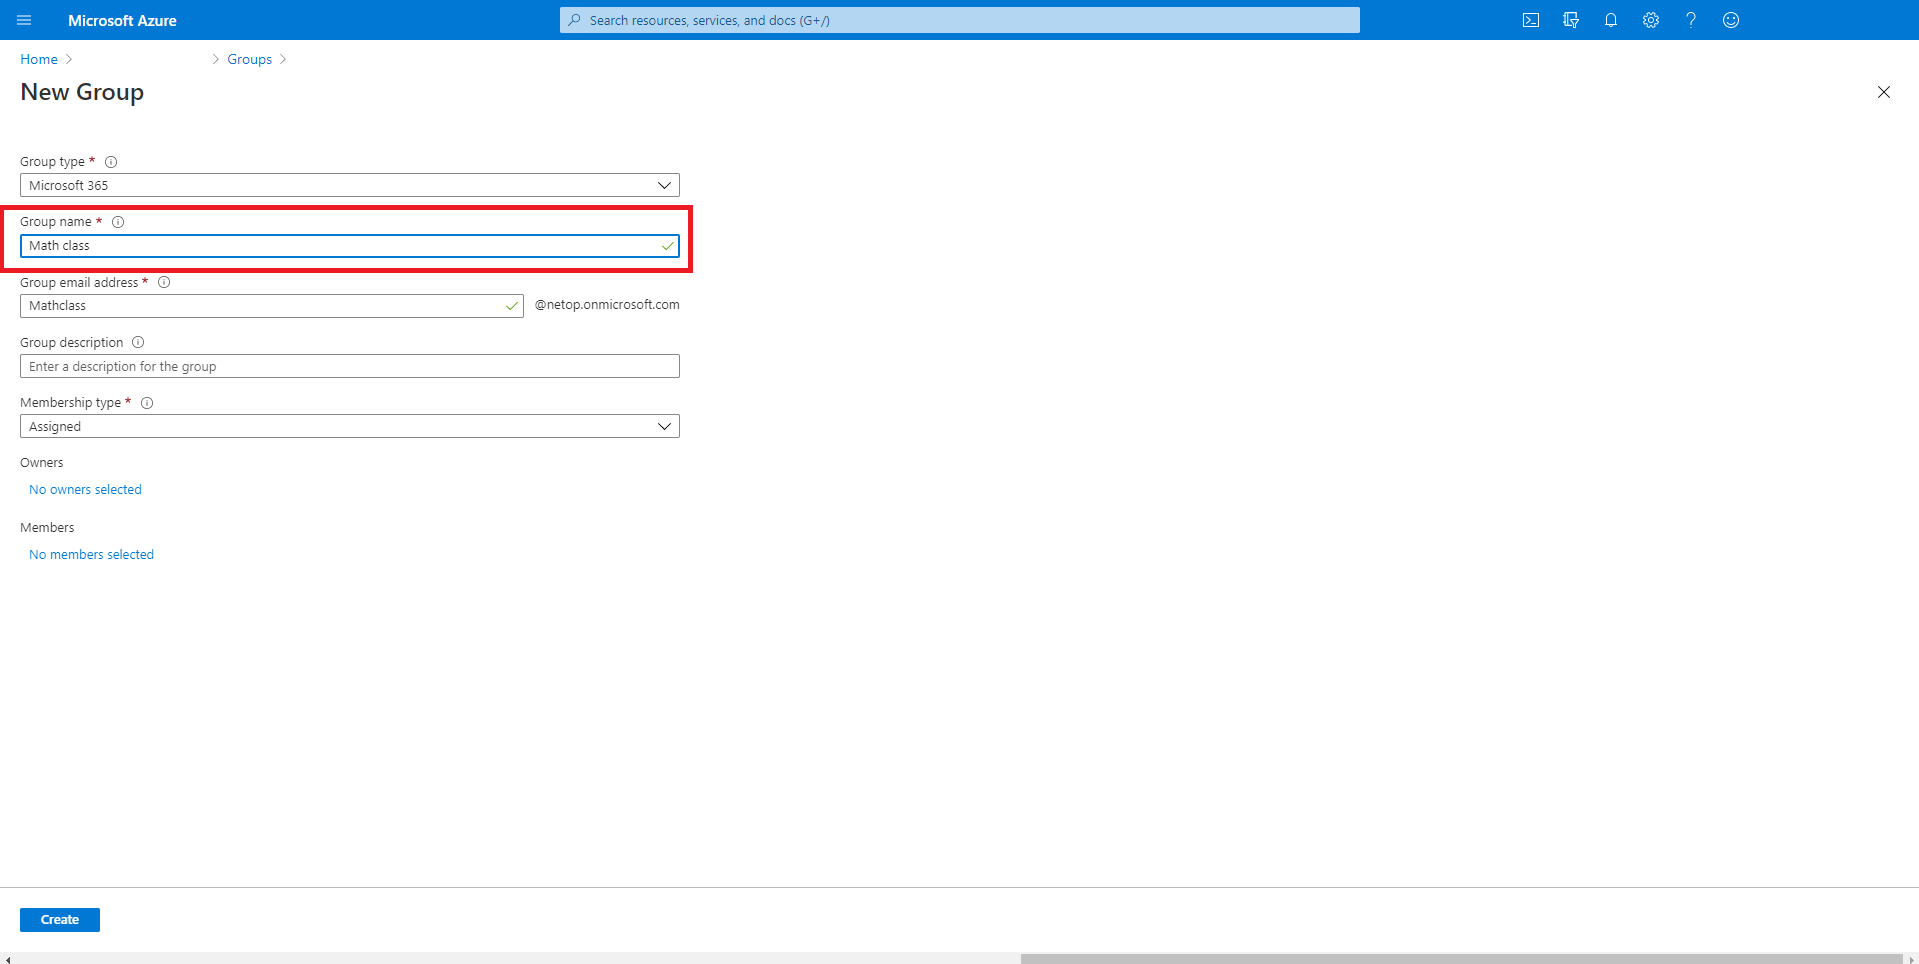
6. Specify a Group name in the Group name entry field. The Group name represents the name of the class that you create. Also, the name that you specify here is automatically added to the Group email address.
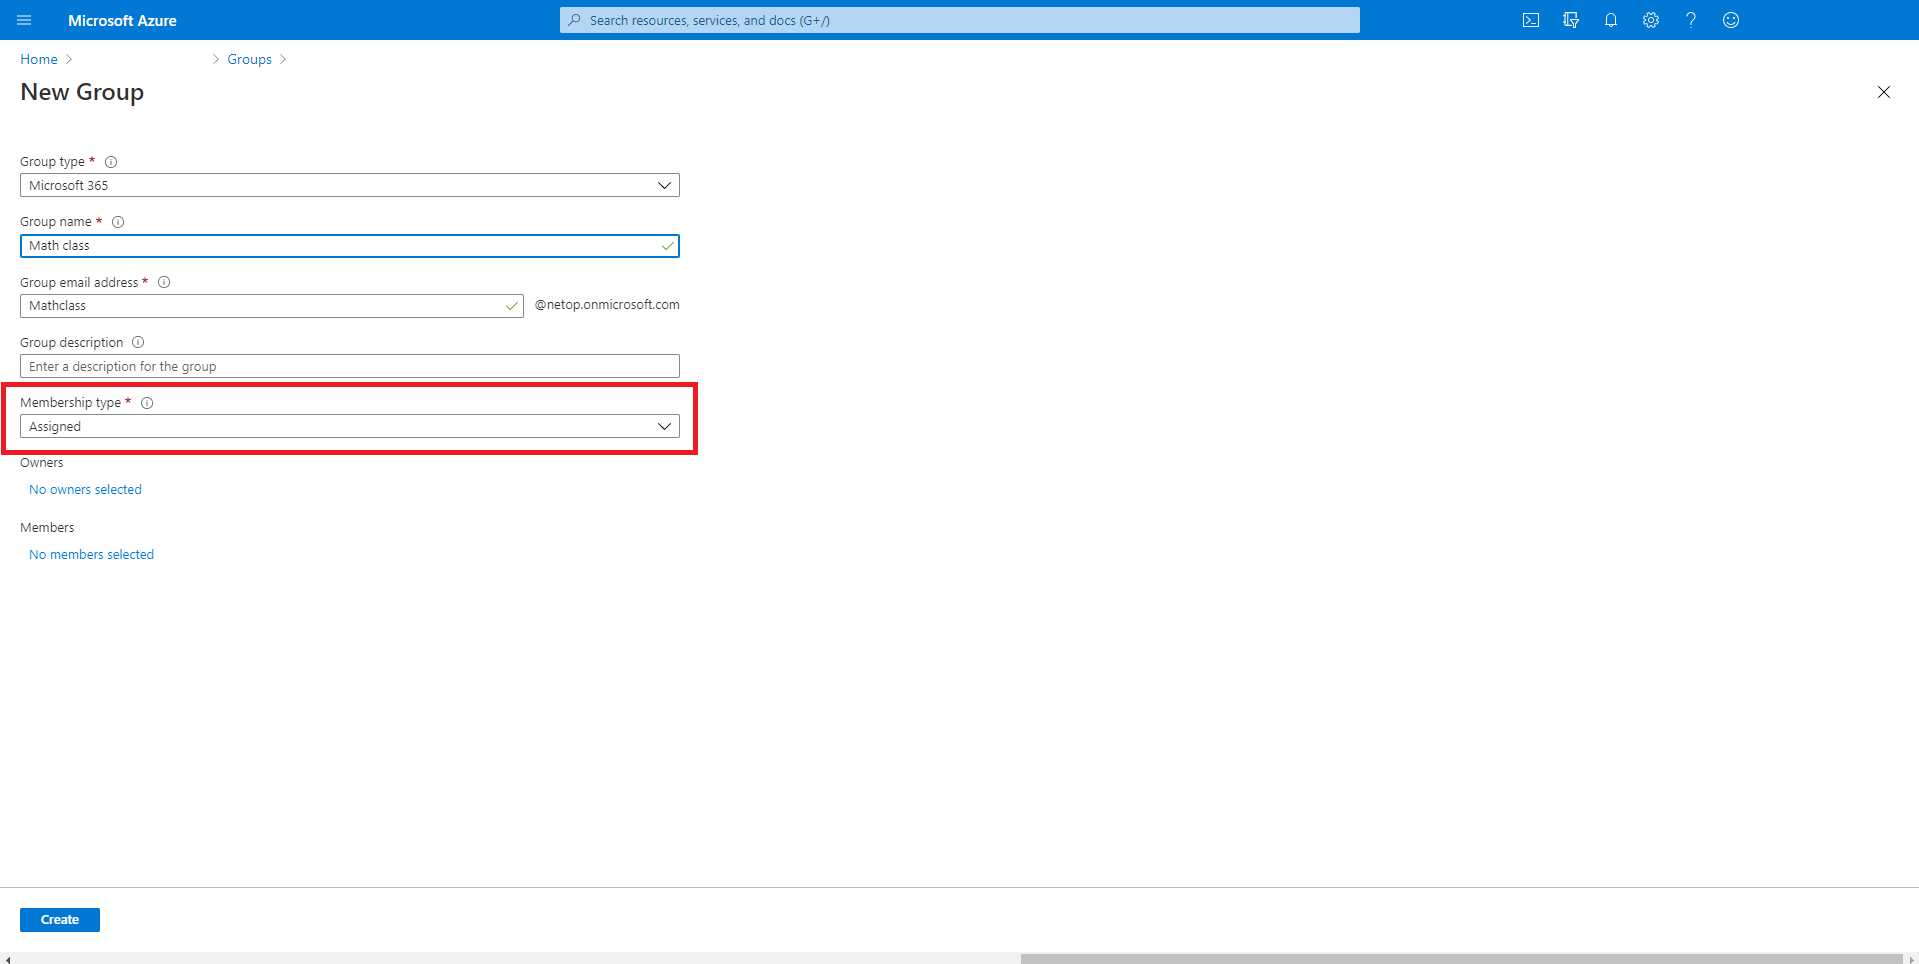
7. From the Membership type dropdown filed, select Assigned.
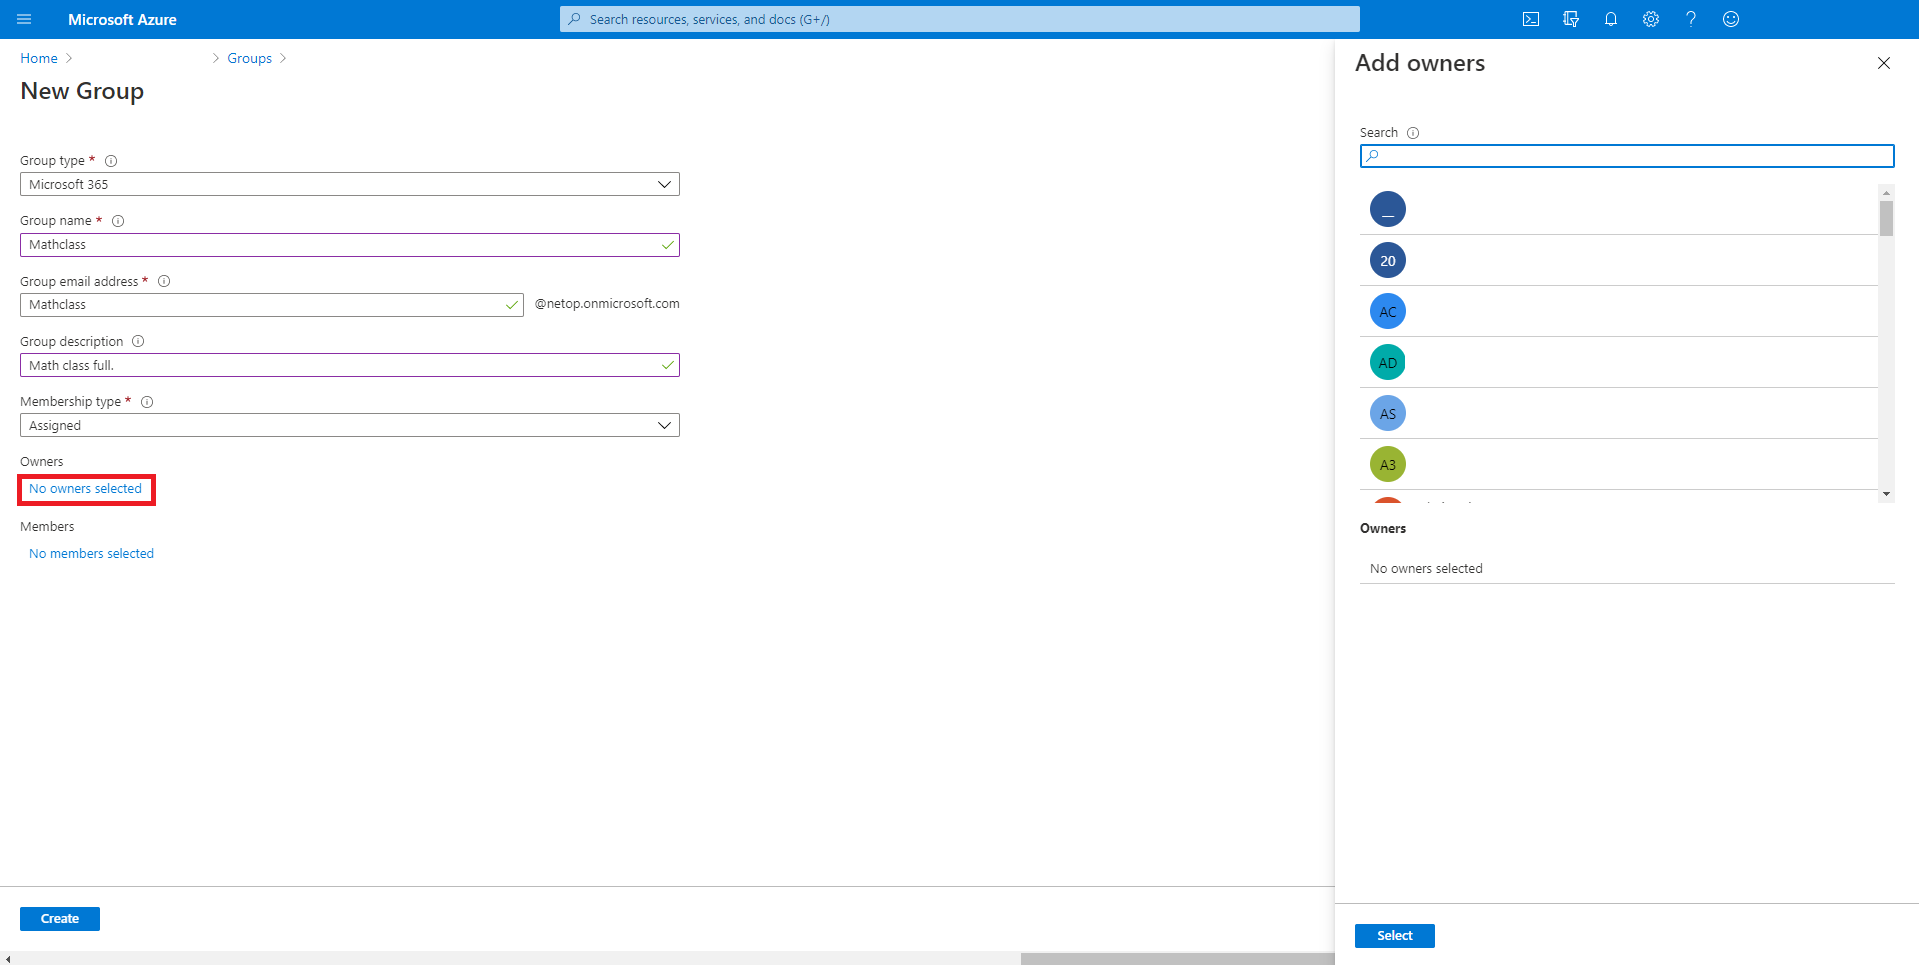
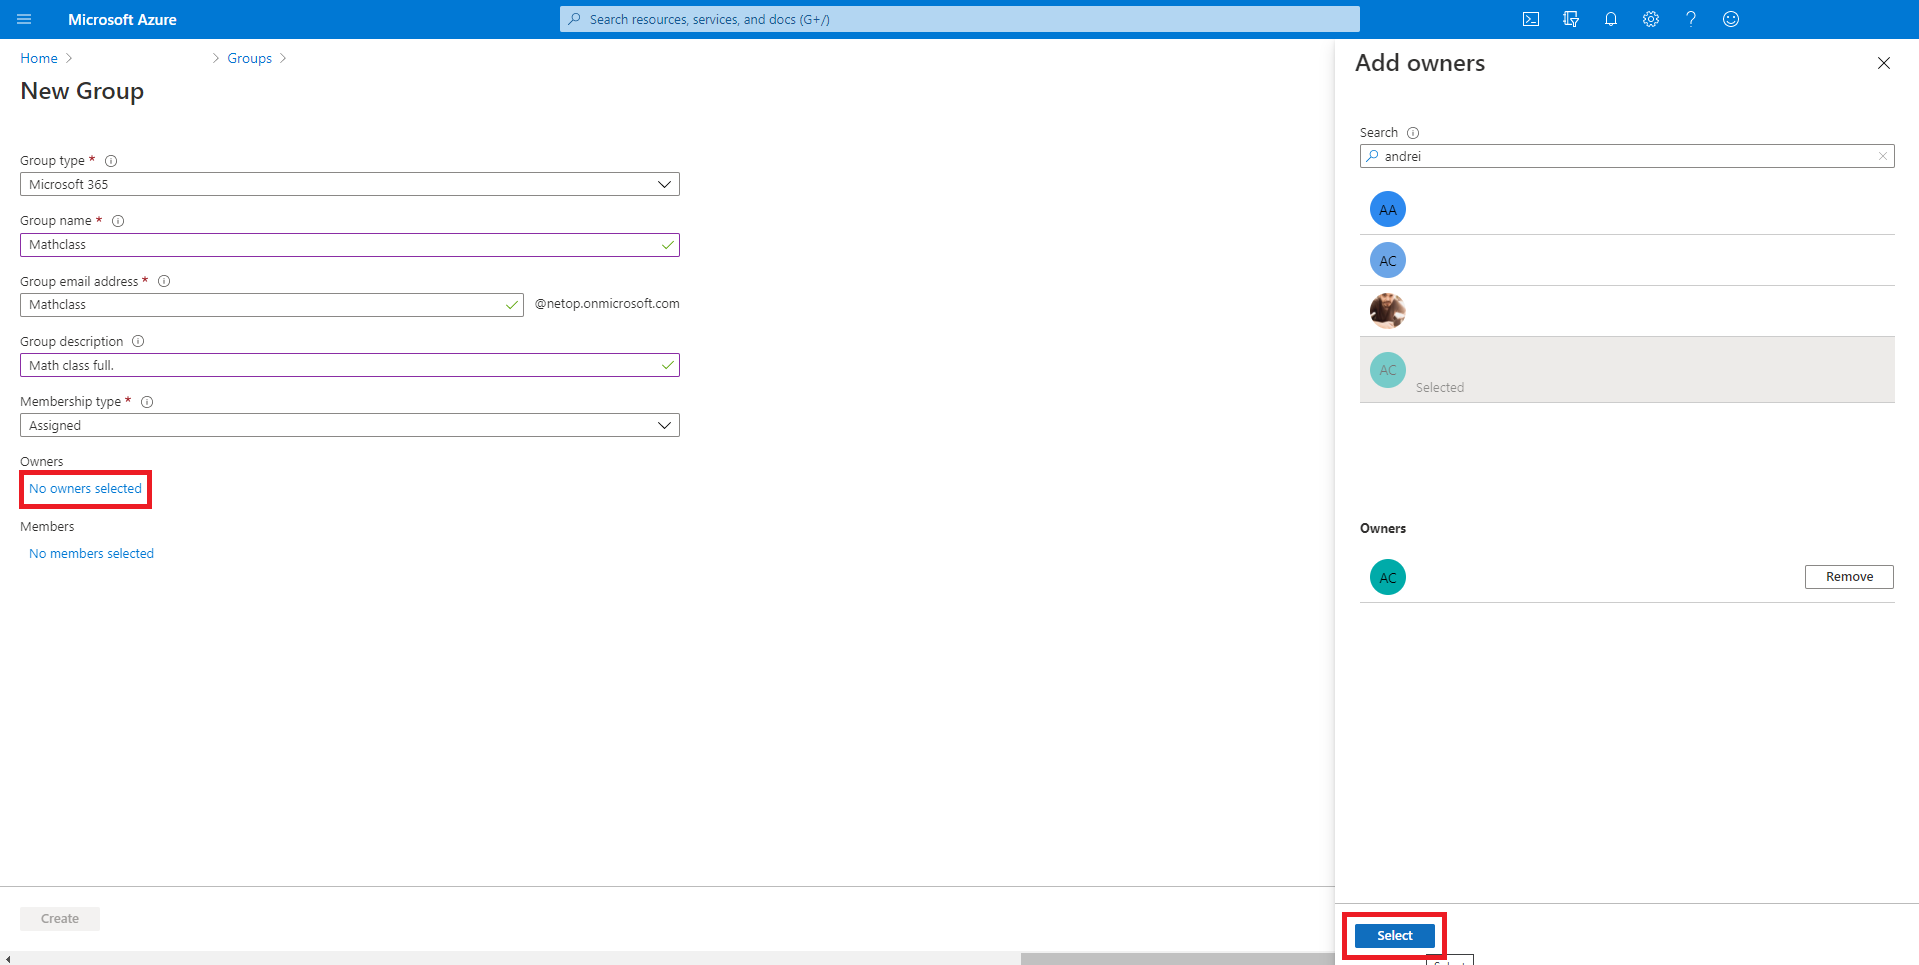
8. Click on the No owners selected to add the Teacher(s) to the group. The Add owners page is displayed.
9. Select the Teacher(s) from the Add owners list. After you finish selecting the Teacher(s), click on the Select button.
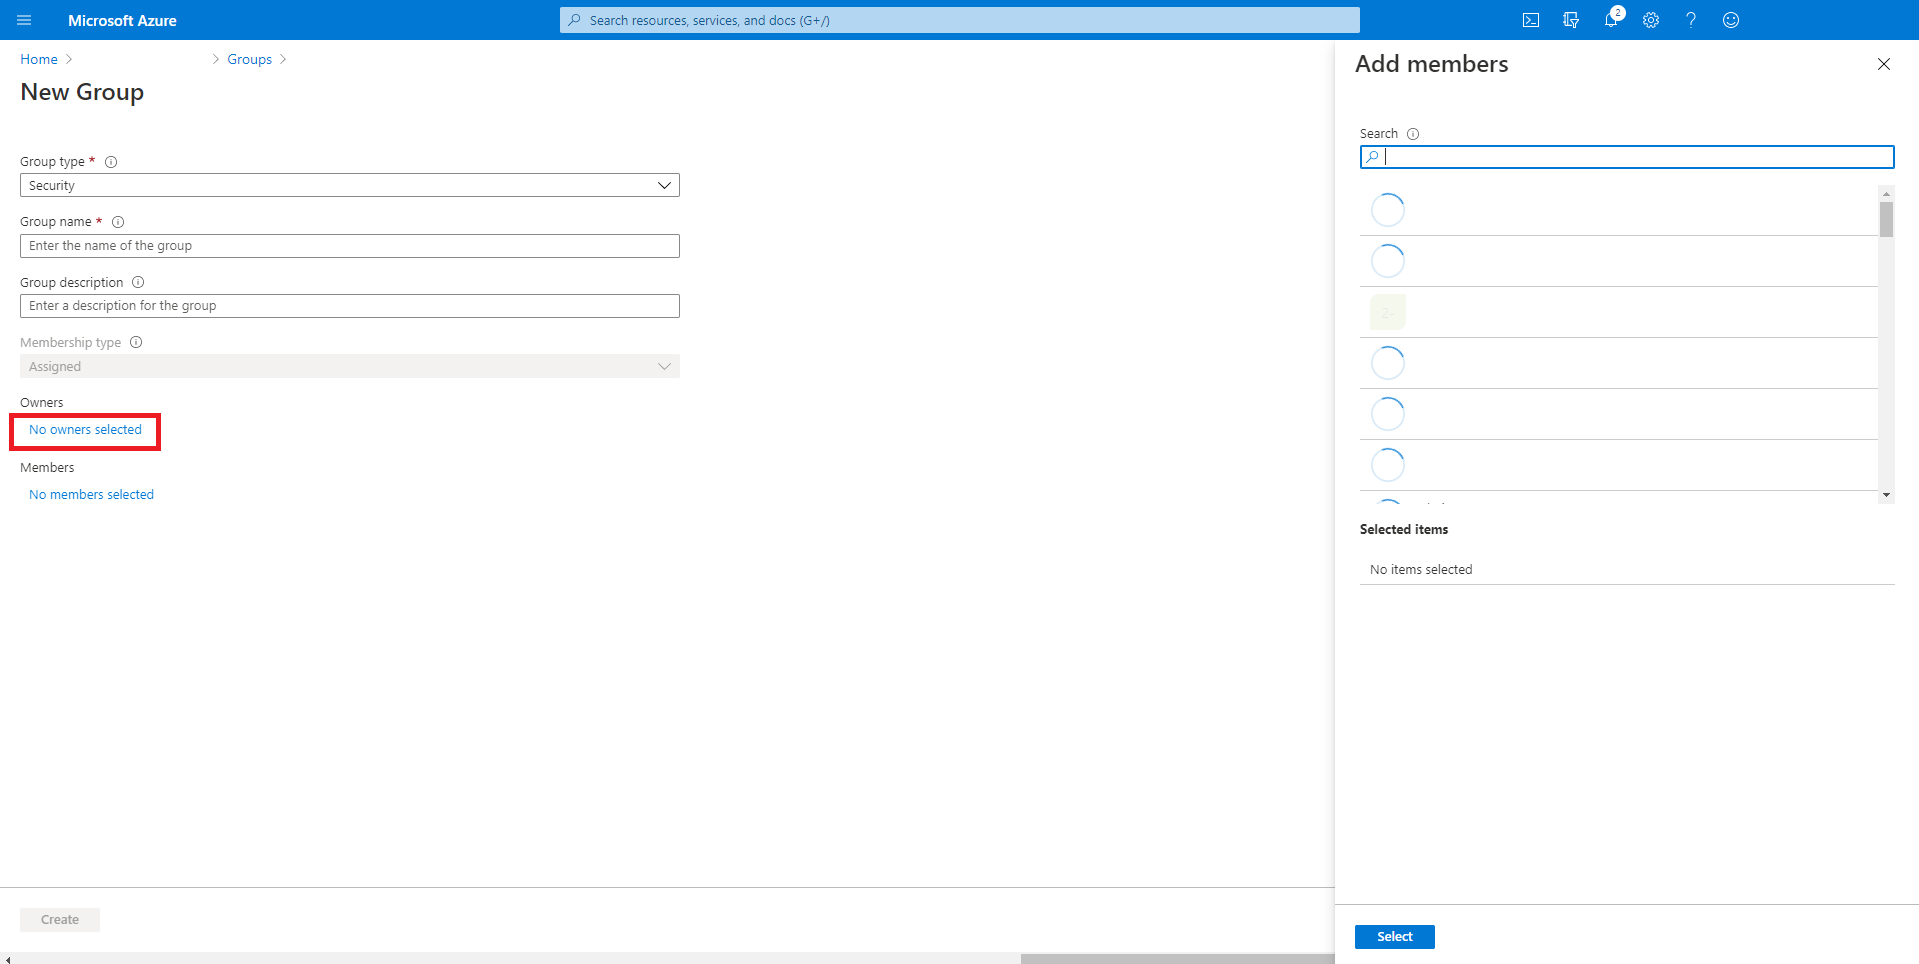
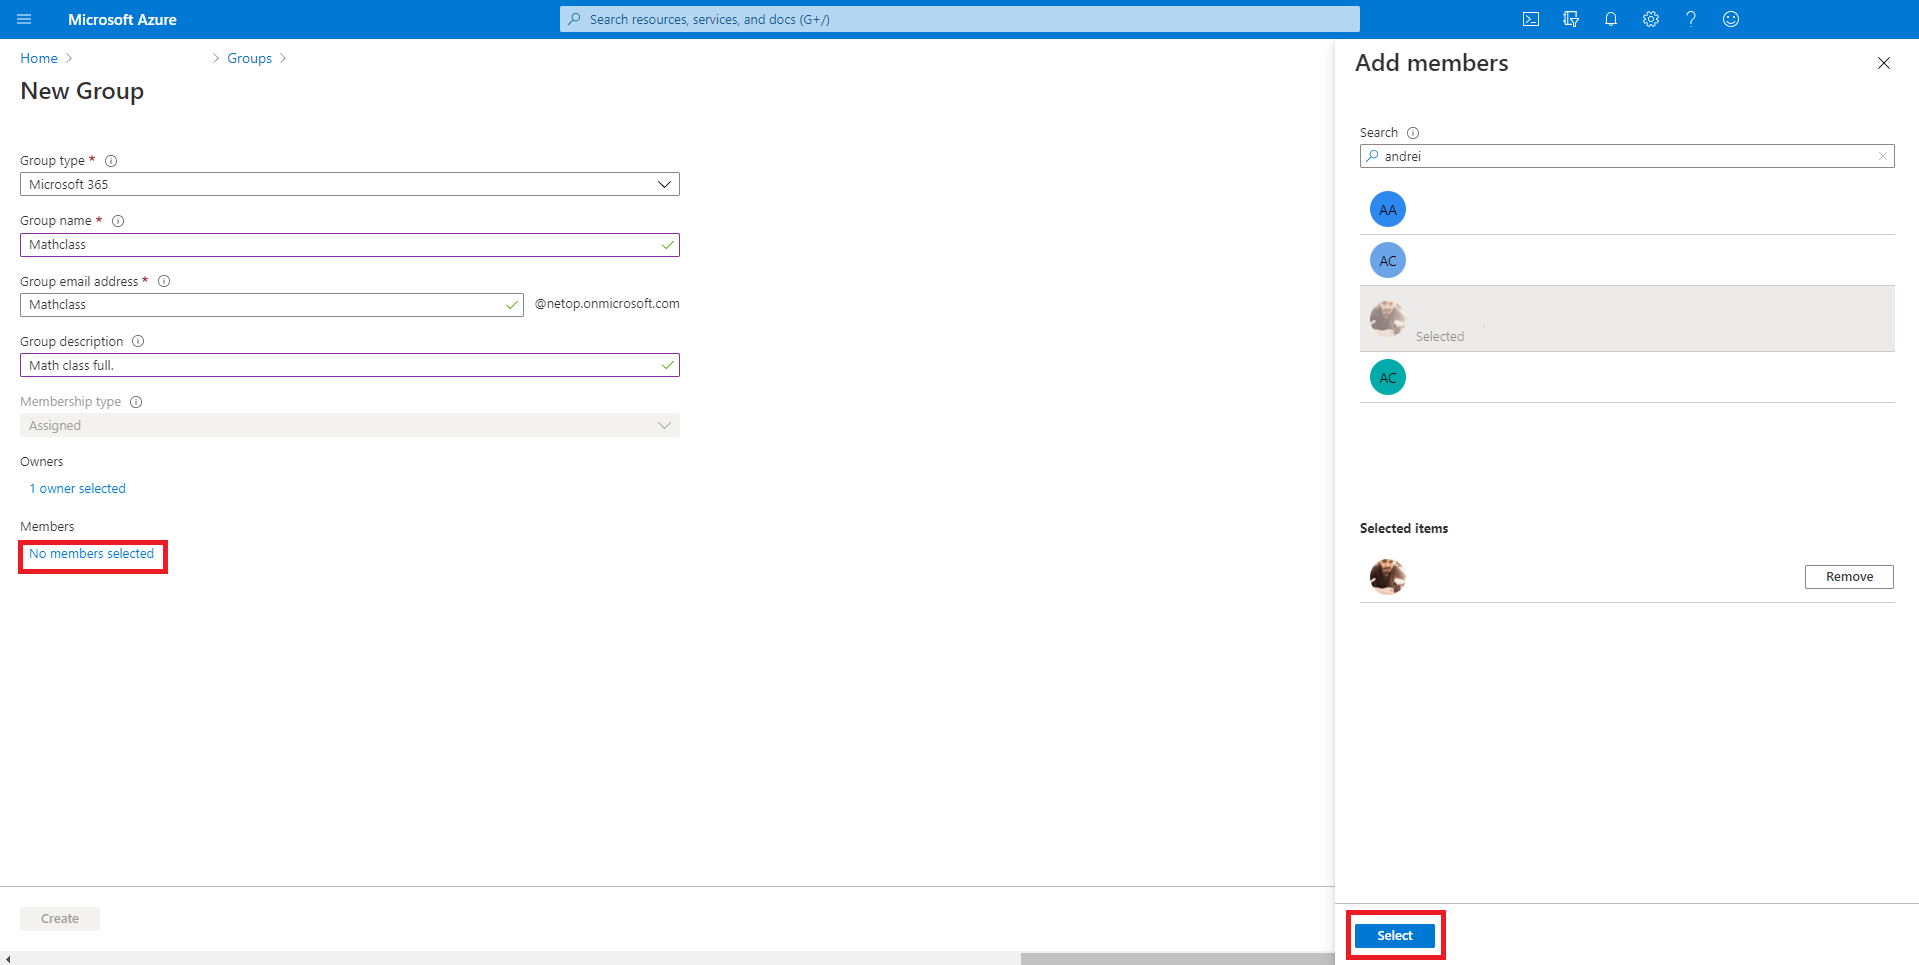
10. Click on the No members selected to add the Students to the group. The Add members page is displayed.
11. Select the Students from the Add members list. After you finish selecting the Students, click on the Select button.
12. To save your changes and to create the group, click on the Create button.
|
||
|
| ||
Attachments

There are no attachments for this article.
|
KB Home | Search |  English English |
|
|
|
|