;)


;)
;)
;)
;)
;)
| Home » Categories » Vision 365 | ||
How to set up the sign in for Vision 365 |
||
|
Article Number: 521 | Last Updated: Thu, May 28, 2020 11:08 AM
|
||
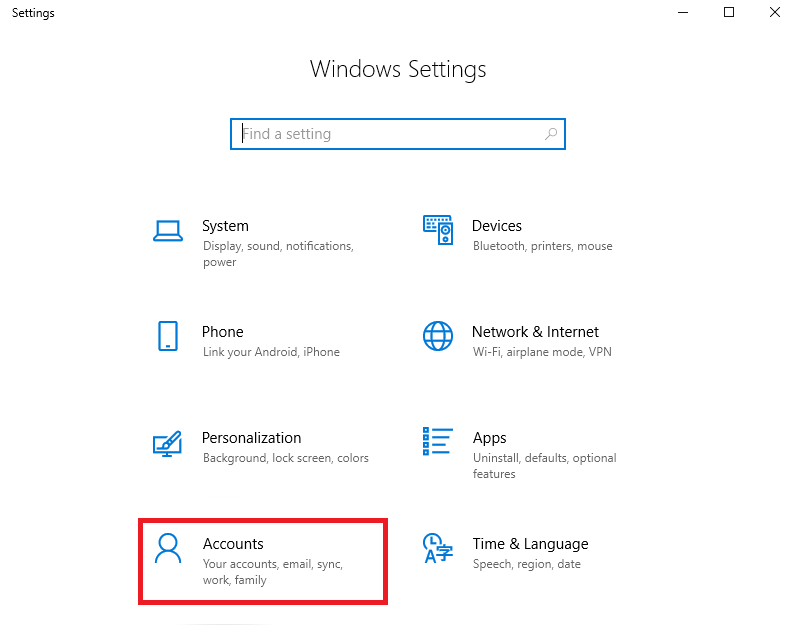
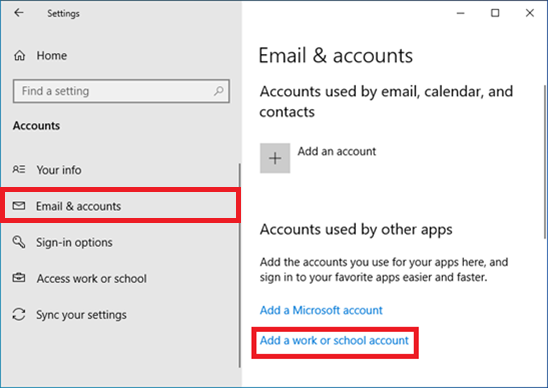
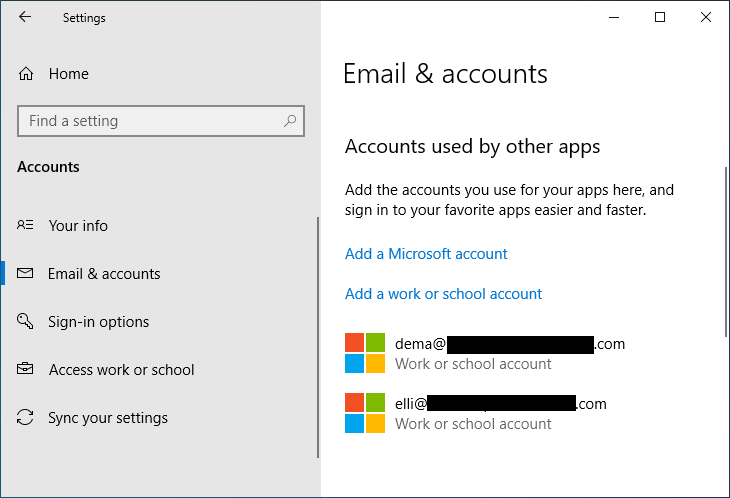
Set up a school accountThe Vision 365 application allows you to set up a school account for Teachers and Students to easily sign in the application. If you do not have any account set up, please follow the below procedure to set up one. If you already have an account set up and want to add more, skip to the "Set up several school accounts" section in the article. NOTE: The below procedure applies both to the Student and Teacher that want to set up an account. To set up a school account for Vision 365, proceed as follows: 1. Click on the Start button. 2. Go to Settings. 3. Go to Accounts. 4. Go to Email & accounts. 5. Click on the “Add a work or school account” button.
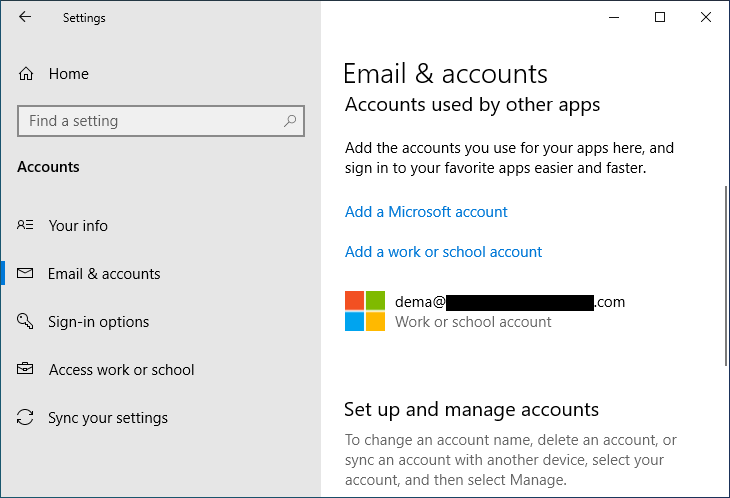
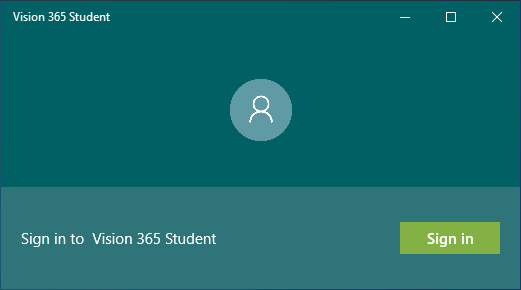
6. Specify the school account. The account is successfully added. Sign in for the Student1. Install (if necessary) the Vision 365 Student application. 2. Start the Vision 365 Student application. 3. Click on the “Sign In” button.
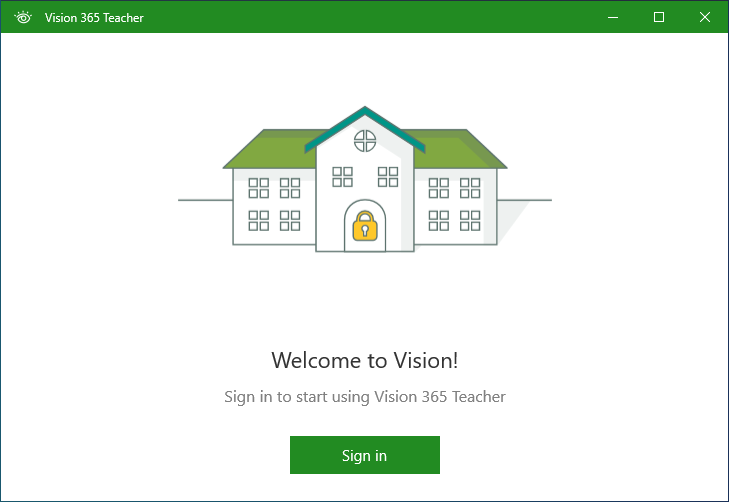
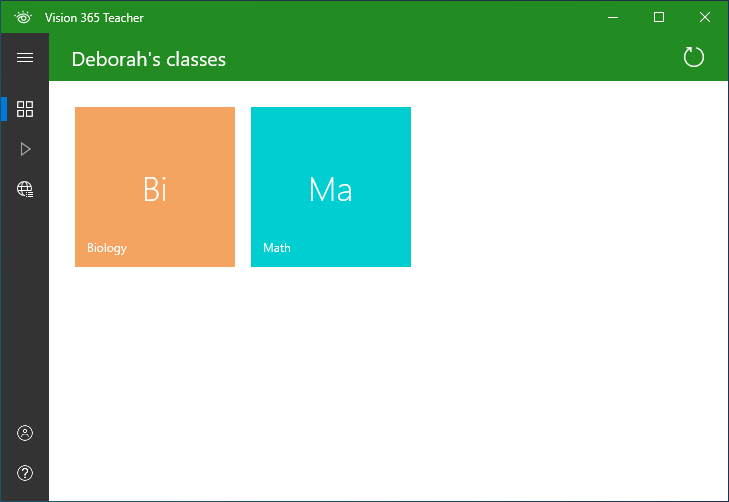
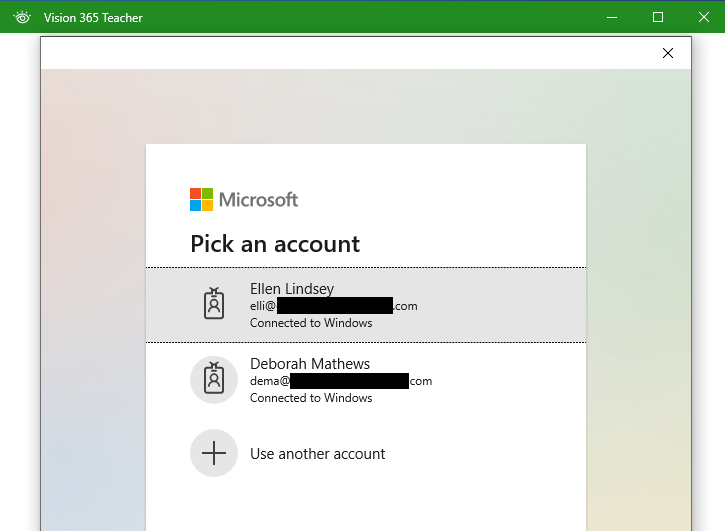
The Student automatically signs in the application. Sign in for the Teacher1. Install (if necessary) the Vision 365 Teacher application. 2. Start the Vision 365 Teacher application. 3. Click on the “Sign In” button. You automatically sign in in the application and if you own classes, they are displayed. Set up several school accountsThe Vision 365 Teacher application allows you to have multiple school accounts that you can switch between. 1. To add another account, repeat the steps from above. 2. Start the Vision 365 Teacher application. 3. Click on the “Sign In” button. 4. Select the Teacher account.
You automatically sign in in the application and your created classes are displayed.
|
||
|
| ||
Attachments

There are no attachments for this article.
|
KB Home | Search |  English English |
|
|
|
|