;)


;)
;)
;)
;)
;)
;)
| Home » Categories » Remote Control » Netop Portal | ||
Mass deploy of Impero Connect Portal enabled components |
||
|
Article Number: 390 | Last Updated: Wed, Jan 12, 2022 3:54 PM
|
||
These are steps to create the files used for mass deployment of the Host application when using the Impero Connect Portal communication profile. Prerequisites:
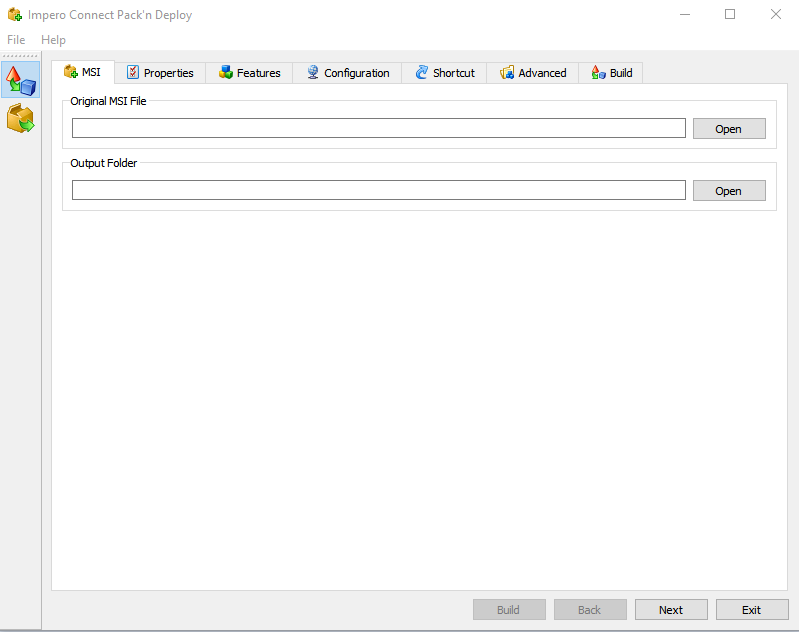
NOTE: If you were running a Host older than 12.6 and you have upgraded it, make sure that you start the Host at least once after the upgrade and then perform the steps below. Steps: Open Impero Connect Pack'n Deploy, installed on the same device as the Host. Select the path to the initial Host .msi file. Select the output folder where to create the MSI build.
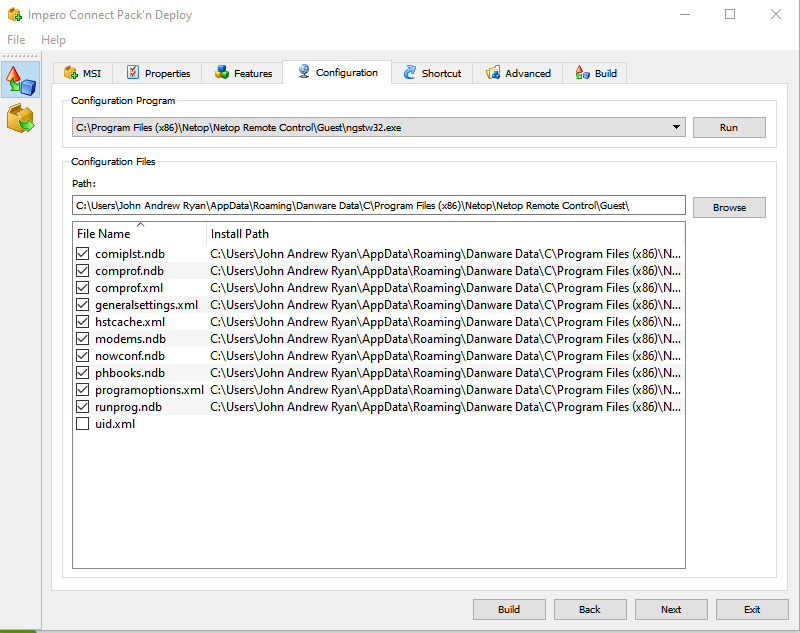
Click on Next. Enter a valid Host license under DW_LICENSE_RHST_SN (or leave empty for trial) and all other required properties. Click on Next. Select the Host features you want to include in the Host. Click on Next. You can select which of the settings from installed Host should be packaged. Make sure to select the comprof.xml (required for Netop Portal communication profile). Also, make sure that uid.xml is not selected (if selected, the Netop Portal communication profile does not work).
Go through the wizard steps by clicking on Next and make sure that you have the desired configuration. Once you finish completing the wizard, click on Build.
The required files for mass deployment are produced (the .msi file and .mst file)
For more details on how to deploy the Impero Host on multiple computers and a detailed explanation of the Impero Connect Pack'n Deploy tool, refer to the Impero Connect Pack'n'Deploy User's Guide. |
||
|
| ||
Attachments

There are no attachments for this article.
|
KB Home | Search |  English English |
|
|
|
|